
User Manual
Accounts
Accounts are available to the following groups:
- Griffith research staff - try logging in to see if you were automatically assigned an account at launch. If you are unable to login, you can ask a colleague to add you as a user or request an account using the Contact us form.
- Griffith higher degree by research students (HDRs) - try logging in to see if you were automatically assigned an account at launch. If you are unable to login, ask your supervisor to add you as a user or request an account using the Contact us form.
- External collaborators - ask your Griffith collaborator to add you as a user.
Login
- Visit the Research Storage Service at https://research-storage.griffith.edu.au/
-
Select the provider that suits your needs from the sign-on options. If you are a Griffith account holder you should make use of your Griffith Single Sign-On by clicking the red Griffith button

- You will be taken to a separate page where you can login with your account credentials
If you are using a Griffith account and you definitely have an account but are unable to log in, please read the Login help or contact the Service Centre.
Uploading files
Once you have logged in, uploading files to the system is very simple.
Click-and-drag Method
Drag a single file, or select and drag multiple files, from Windows Explorer (Finder on a Mac) directly into the open window of the storage service. When you release the mouse, the files will be uploaded to the system.
Please note: This method will not work for versions of Internet Explorer older than version 10.
Upload Button
-
Within the Research Storage application, click on the Upload button. This is a button with an upward-facing arrow on it.

-
A file selection window will appear. Select the file(s) you want to upload and click on Open.
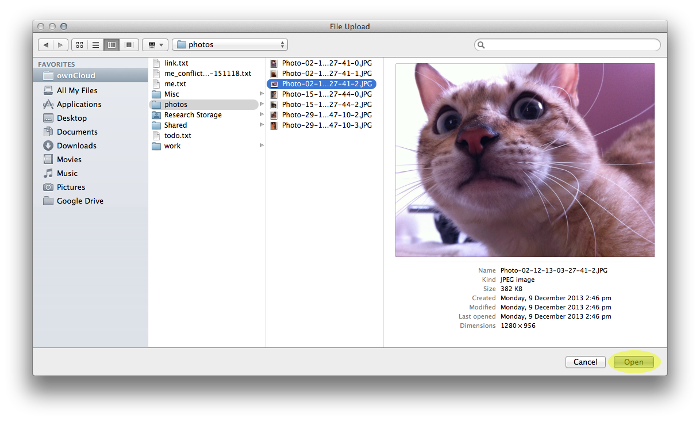
Your file will upload.
Syncing Files from Your Computer
It's also possible to use an app called a sync client to automatically upload files from your computer. Please see the instructions for downloading sync clients and configuring them. Please note: These apps are developed by a third-party and are not developed or supported by Griffith University.
Deleting Files
To delete a file, click on the trashcan on the right side of the screen when you hover your mouse over the filename.

Delete a file permanently
To manage your storage more effectively, you may wish to permanently delete some items from your Recycle Bin.
Access your Recycle Bin by clicking on the Deleted files button on the right side of the screen.
Hover your mouse over the file you want to permanently delete, and click the trashcan that appears on the right.

The file will instantly, and permanently, be deleted.
Restore a deleted file
After you initially delete a file, it is placed in your Recycle Bin. By default, deleted files stay on the system for 30 days.
If you wish to restore the file to its original location within this time period, follow these steps:
-
Access your Recycle Bin by clicking on the Deleted files button on the right side of the screen.
-
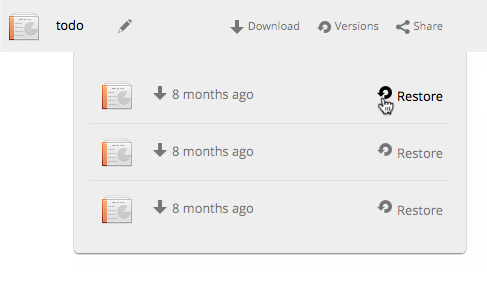
Locate the file you wish to undelete, and click on the Restore button to the right of the filename.

The file will be instantly restored.
Request a new project space
Your personal home drive on the service, which is separate from the project folders, is limited to 5GB. On top of this, you can request new spaces at any time for as many research projects as you need; these project folders do not have a quota applied.
To encourage the organisation of content on a project basis and ensure that the storage is being used to support research at Griffith, UCS asks you to supply a small amount of information via a web form. Once you have supplied this information, your storage is allocated automatically. You can then share the project folder with your collaborators at Griffith and outside of Griffith.
To request a new project space:
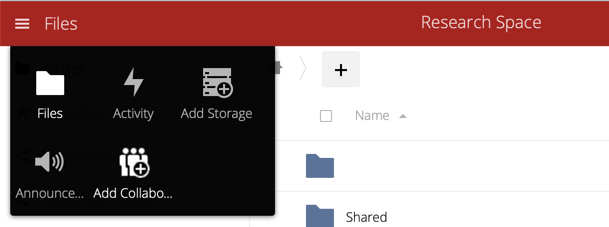
- Click on the Add Storage button in the bar on the left hand side of the screen.

- Complete the Add a New Project form. (Note: Choose the title for your folder carefully as this cannot be changed once the folder is generated.)
- Click the Request Storage button.

- The screen will show that the new project space has been successfully created.
- To access your new folder, click on the Files button in the bar on the left hand side of the screen.

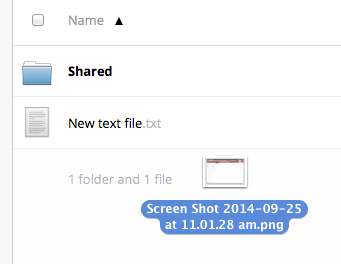
- Select the Shared folder.

Your newly created space will appear in your list of shared folders. The folder name will be based on information you provided when completing the form.
Add collaborators
If all you want to do is share files with others via a weblink, they do not need an account. However, adding your collaborators as account holders can support more advanced collaboration, for example:
- You can give your collaborators more privileges to create folders, and to upload, edit and delete files.
- Your collaborators can use the sync clients to access files from their computers and mobile devices.
To add a collaborator as an account holder:
- Click on the Add Collaborator button in the bar on the left hand side of the screen.
- Complete the Add a New User form.
- Click the Submit button.
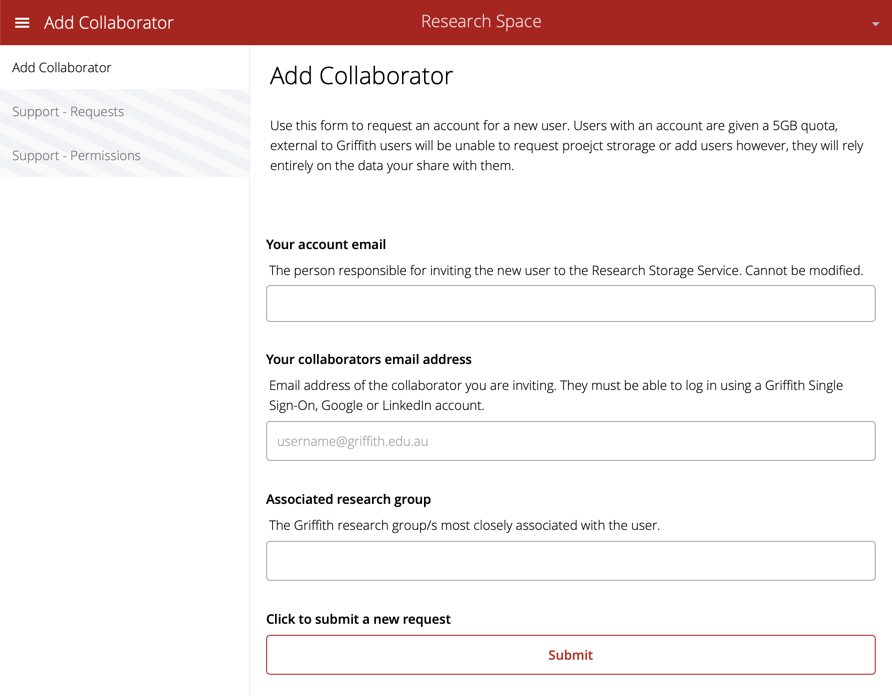
The screen will show that the user account has been successfully created. If the account creation failed, this is usually because the person already has an account. Check with your collaborator before contacting the Service Centre for assistance.
Share with other account holders
Once your collaborators have an account, you can easily share folders and files with them.
- Hover your mouse over the folder or file you would like to share, and click on the Share button from the options that will appear.

- Enter in the email address of the person you want to share the file with. Press Enter. A menu will appear, and you can select the matching person from the list.
- The person's name will then be added to the list of people that can access this file.
Set access and editing rights
As the owner of a folder or file, you can decide what your collaborators can do with the files you shared with them. Depending on the permissions that you assign at the time of sharing, your collaborators may be able to:
- Access the files in 'read-only' mode
- Edit the files
- Delete the files
- Share the files with other people.
By default, all your collaborators will have full privileges; however, you have complete control over what permissions you set and should carefully consider how best to share. For example, you might decide to restrict deleting and editing privileges to yourself or more senior members of a team, while providing read-only privileges to a larger group
After sharing the file, you will see the Can edit checkbox near the person's name. This is checked by default and allows the user to update the file, delete the file, and share the file with other people.
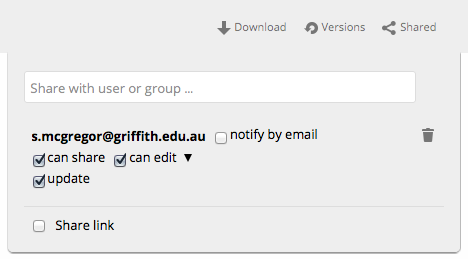
To grant read-only access uncheck the Can edit box entirely.
Or, you can click on the small arrow to the right of "can edit" and have full control of the various options that appear.
You can set a time limit if required. See Setting an Expiry Date for instructions on how to do this.
Allow public uploads to a share
As the owner of a public folder you can allow collaborators with the link to upload files without logging into the service.
Simply clicking on the "Allow Editing" option when sharing via a link. A button will appear in the list of files your collaborators can browse, allowing them to upload files into your folder.
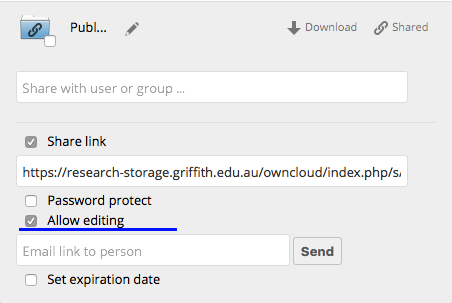
Because anyone with the link can upload and download data it is best practice to protect the folder with a password. See Setting a Password for instructions on how to do this.
Unsharing
When sharing with other account holders, it's possible to unshare the file to particular people, rather than needing to globally unshare the entire file.
- Hover your mouse over the file you want to unshare, and then click on Share from the options that appear on the right.
- A box will appear. Click on the trash icon next to the person that you no longer wish to be able to access the file.
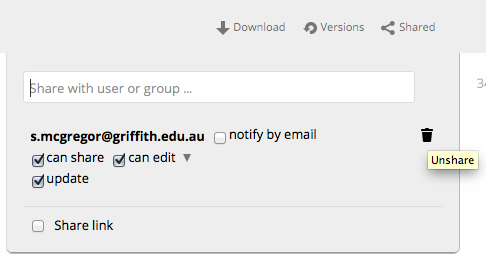
The file has been unshared.
Provide read-only access
For less regular collaboration or one-off file sharing, you can provide read-only access to anyone by providing them with a web link. For extra security you can password protect the file.
- Hover your mouse over the file or folder you would like to share. Click on Share from the list of options that appear on the right.
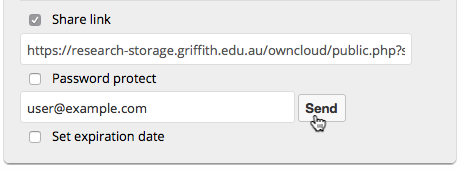
- In the box that appears, click on the Share link button. This will expand the box.
- You can cut and paste the website address to give to anyone to access the file (please note, the website address is much longer than the text box displays). Alternatively you can also enter in an e-mail address to automatically send out a notification about the web address.
Set a password
You can password protect any file you share through the following steps:
- Click on the Password protect button.
- A field will appear for you to enter in a password.
- Click outside the password input field to save the password you entered.
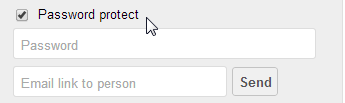
If using the Email link to person option after password protecting the file, please note that the automated email does not contain the password. You will need to notify the recipient of the password separately.
Set an expiry date
You can share a file or folder for a limited amount of time.
- After sharing the item, with the Sharing Options box still open, click on Set expiration date.
- Use the calendar to enter the date that you would like the access period to end.
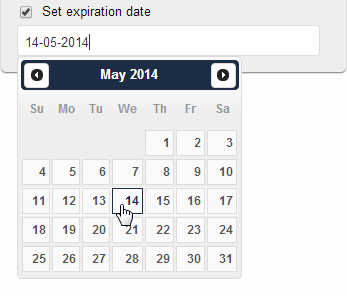
As soon as the date is selected, the expiry date has been set. You can modify the expiry date by following the same process.
When the expiration date is reached, the file will no longer be available.
Unsharing
If the file has been shared externally using the web link, it is not possible to selectively restrict access to it. Instead, you must "unshare" it from everyone.
- Hover your mouse over the file you want to unshare, and then click on Share from the options that appear on the right.
- Uncheck the Share link box.
The file has been unshared.
Download the sync clients
Please note: These apps are developed by a third party and are not developed or supported by Griffith University. If you choose to use these apps, you do so at your own risk and you must be aware of how the synchronisation works.
These tools offer bidirectional file synchronising. This means that the files in different places (i.e. on the Griffith Uni systems and on your desktop machine or mobile device) remain the same:
- If you add a file in one place it is copied to the other place.
- If a file is changed in one place, the change is propagated to the other site/s.
- Most importantly,
if a file is deleted in one place, it is deleted in all places . This is a major difference to back up systems where a "point in time" snapshot can be restored.
The system offers some ability for you to restore files that you have deleted within a certain time period (30 days), however you and your collaborators should be very careful when using the synchronisation apps to ensure that data is also backed up somewhere else and that extreme care is taken when deleting folders and files.
Important Note: Research Space only supports ownCloud desktop sync client versions 2.5.4 and below for Windows, Mac, and Linux. Version 2.6+ will not work. Please visit the ownCloud desktop client list to obtain version 2.5.4 of a desktop sync client.
The Google and Apple sync clients for the supporting software can be obtained from:
- Download the appropriate sync client from one of the sources listed above.
- Follow the steps provided for installing the software.
Setting up the sync client
Once the sync client is installed on your system some small configuration steps are required.
- The sync client is started, input https://research-storage.griffith.edu.au/owncloud/ in the Server Address field, then hit next.
- You will be presented with the following authentication options. Select the service appropriate to your needs.
Griffith University users should click the red Griffith box.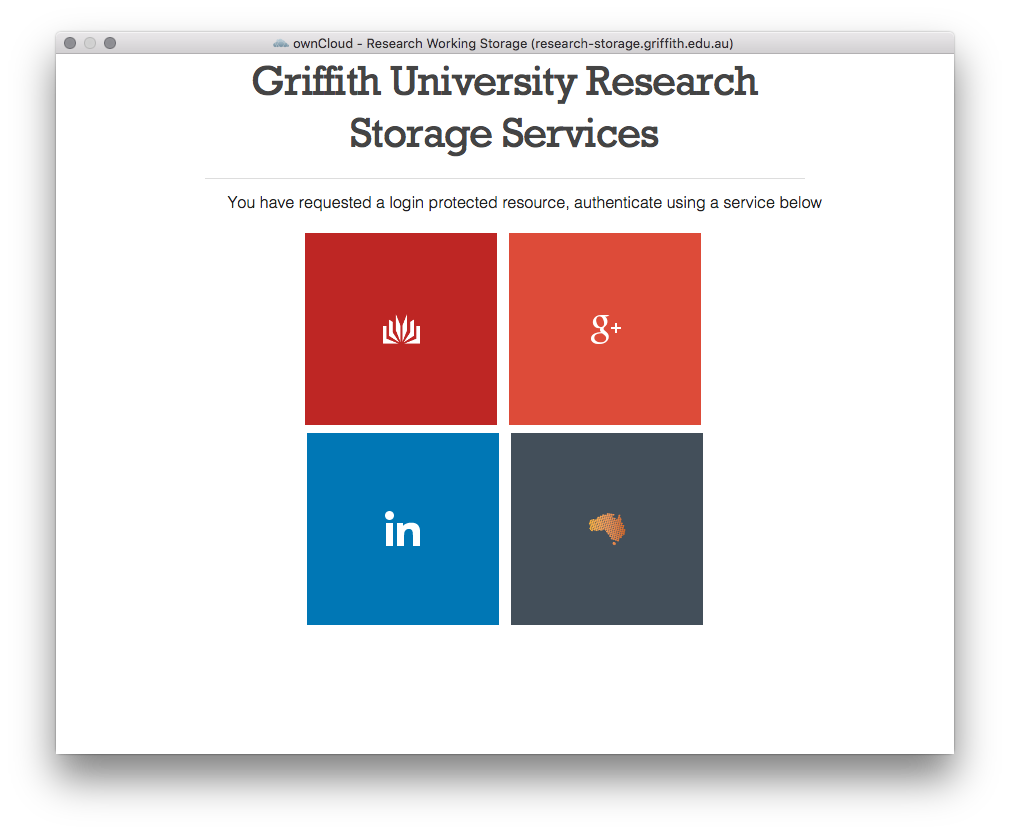
- Complete the Single-Sign-On workflow for the authentication method you chose. For Griffith users already logged into the Portal this step will potentially be skipped.
- The next screen is then going to ask where you would like to locally store your files. Accept the default or click on the folder address to select a different location.
- Click the Connect button (depending on your operating system) to complete the installation
A folder called ownCloud will now appear as a favorite folder in Windows Explorer, Finder or the Linux equivalent. Any files you add, delete, or edit from this location will automatically sync with the University's servers.
The ownCloud client should launch automatically when your computer starts. Please also note that there may be a delay between adding a file to your local folder, and it appearing within the web interface. Large files may take a while to upload.
Using WebDAV with Research Space (FolderSync, CyberDuck, Transmit.app, etc)
In order to use WebDAV you will need to generate a local sync password for your choice of application.
- Log in to the Research Space web page.
- Navigate to the Settings link from the top right drop down menu.

- From the left hand menu, select the Security link.
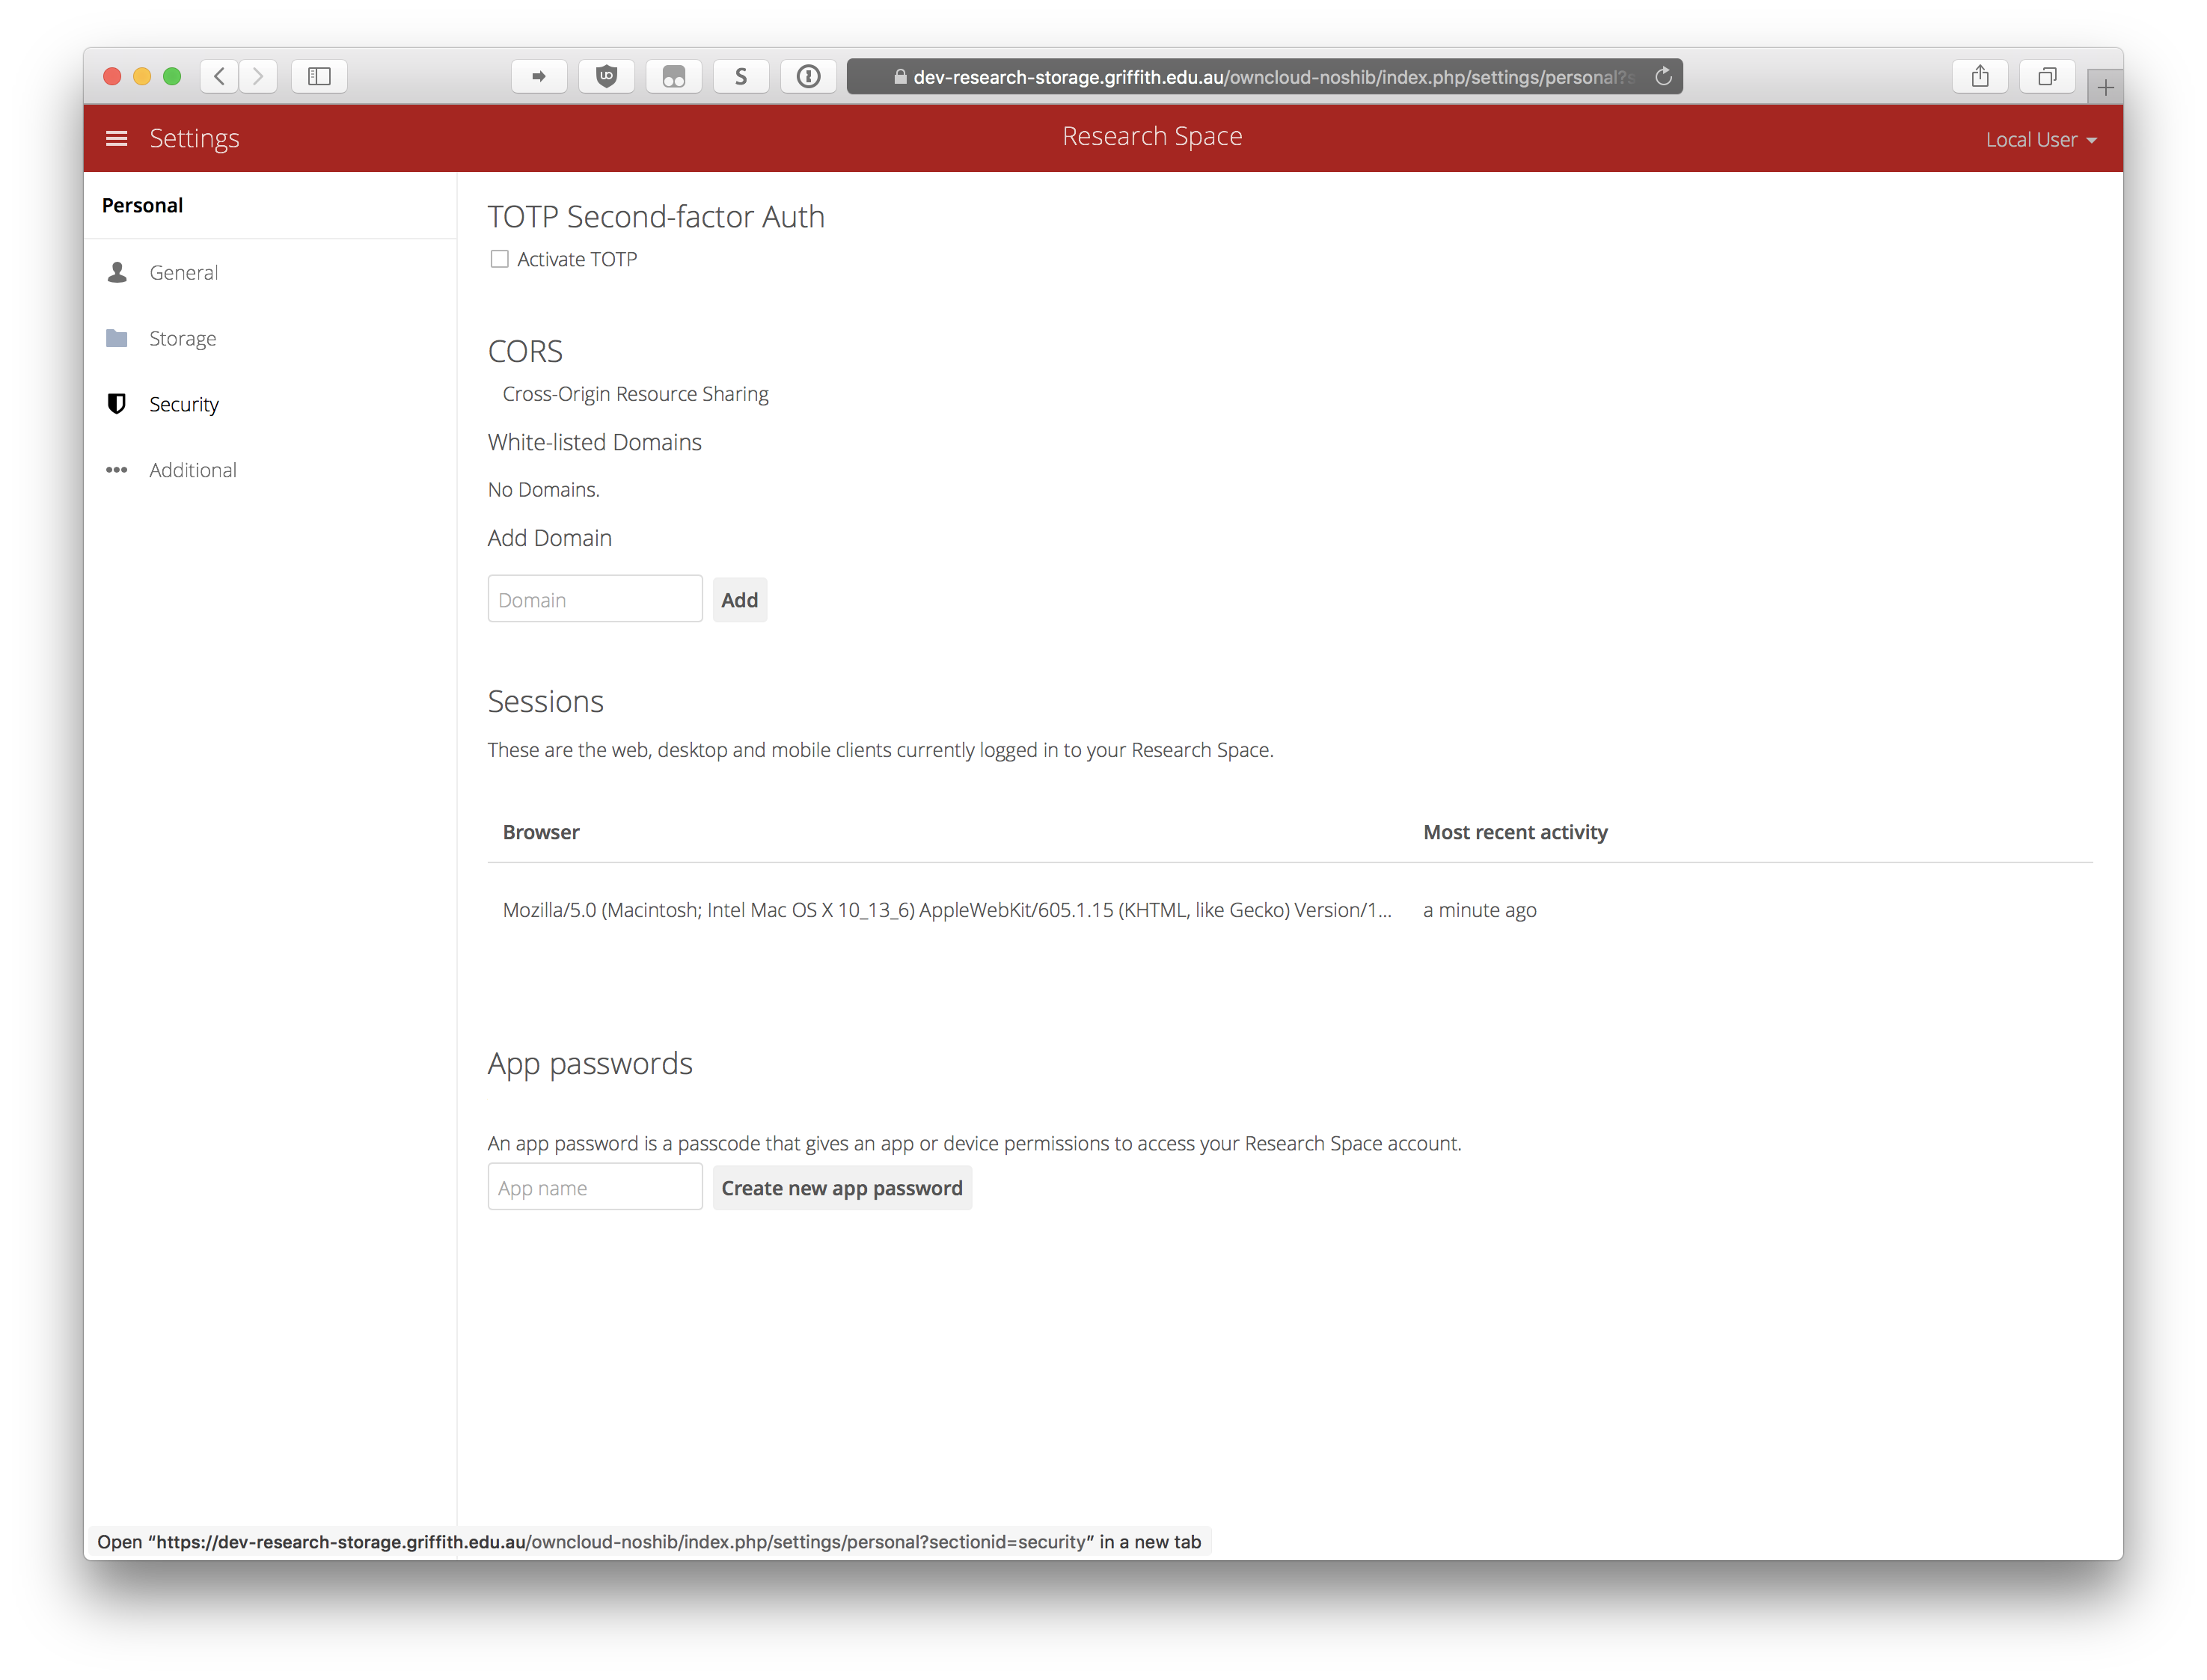
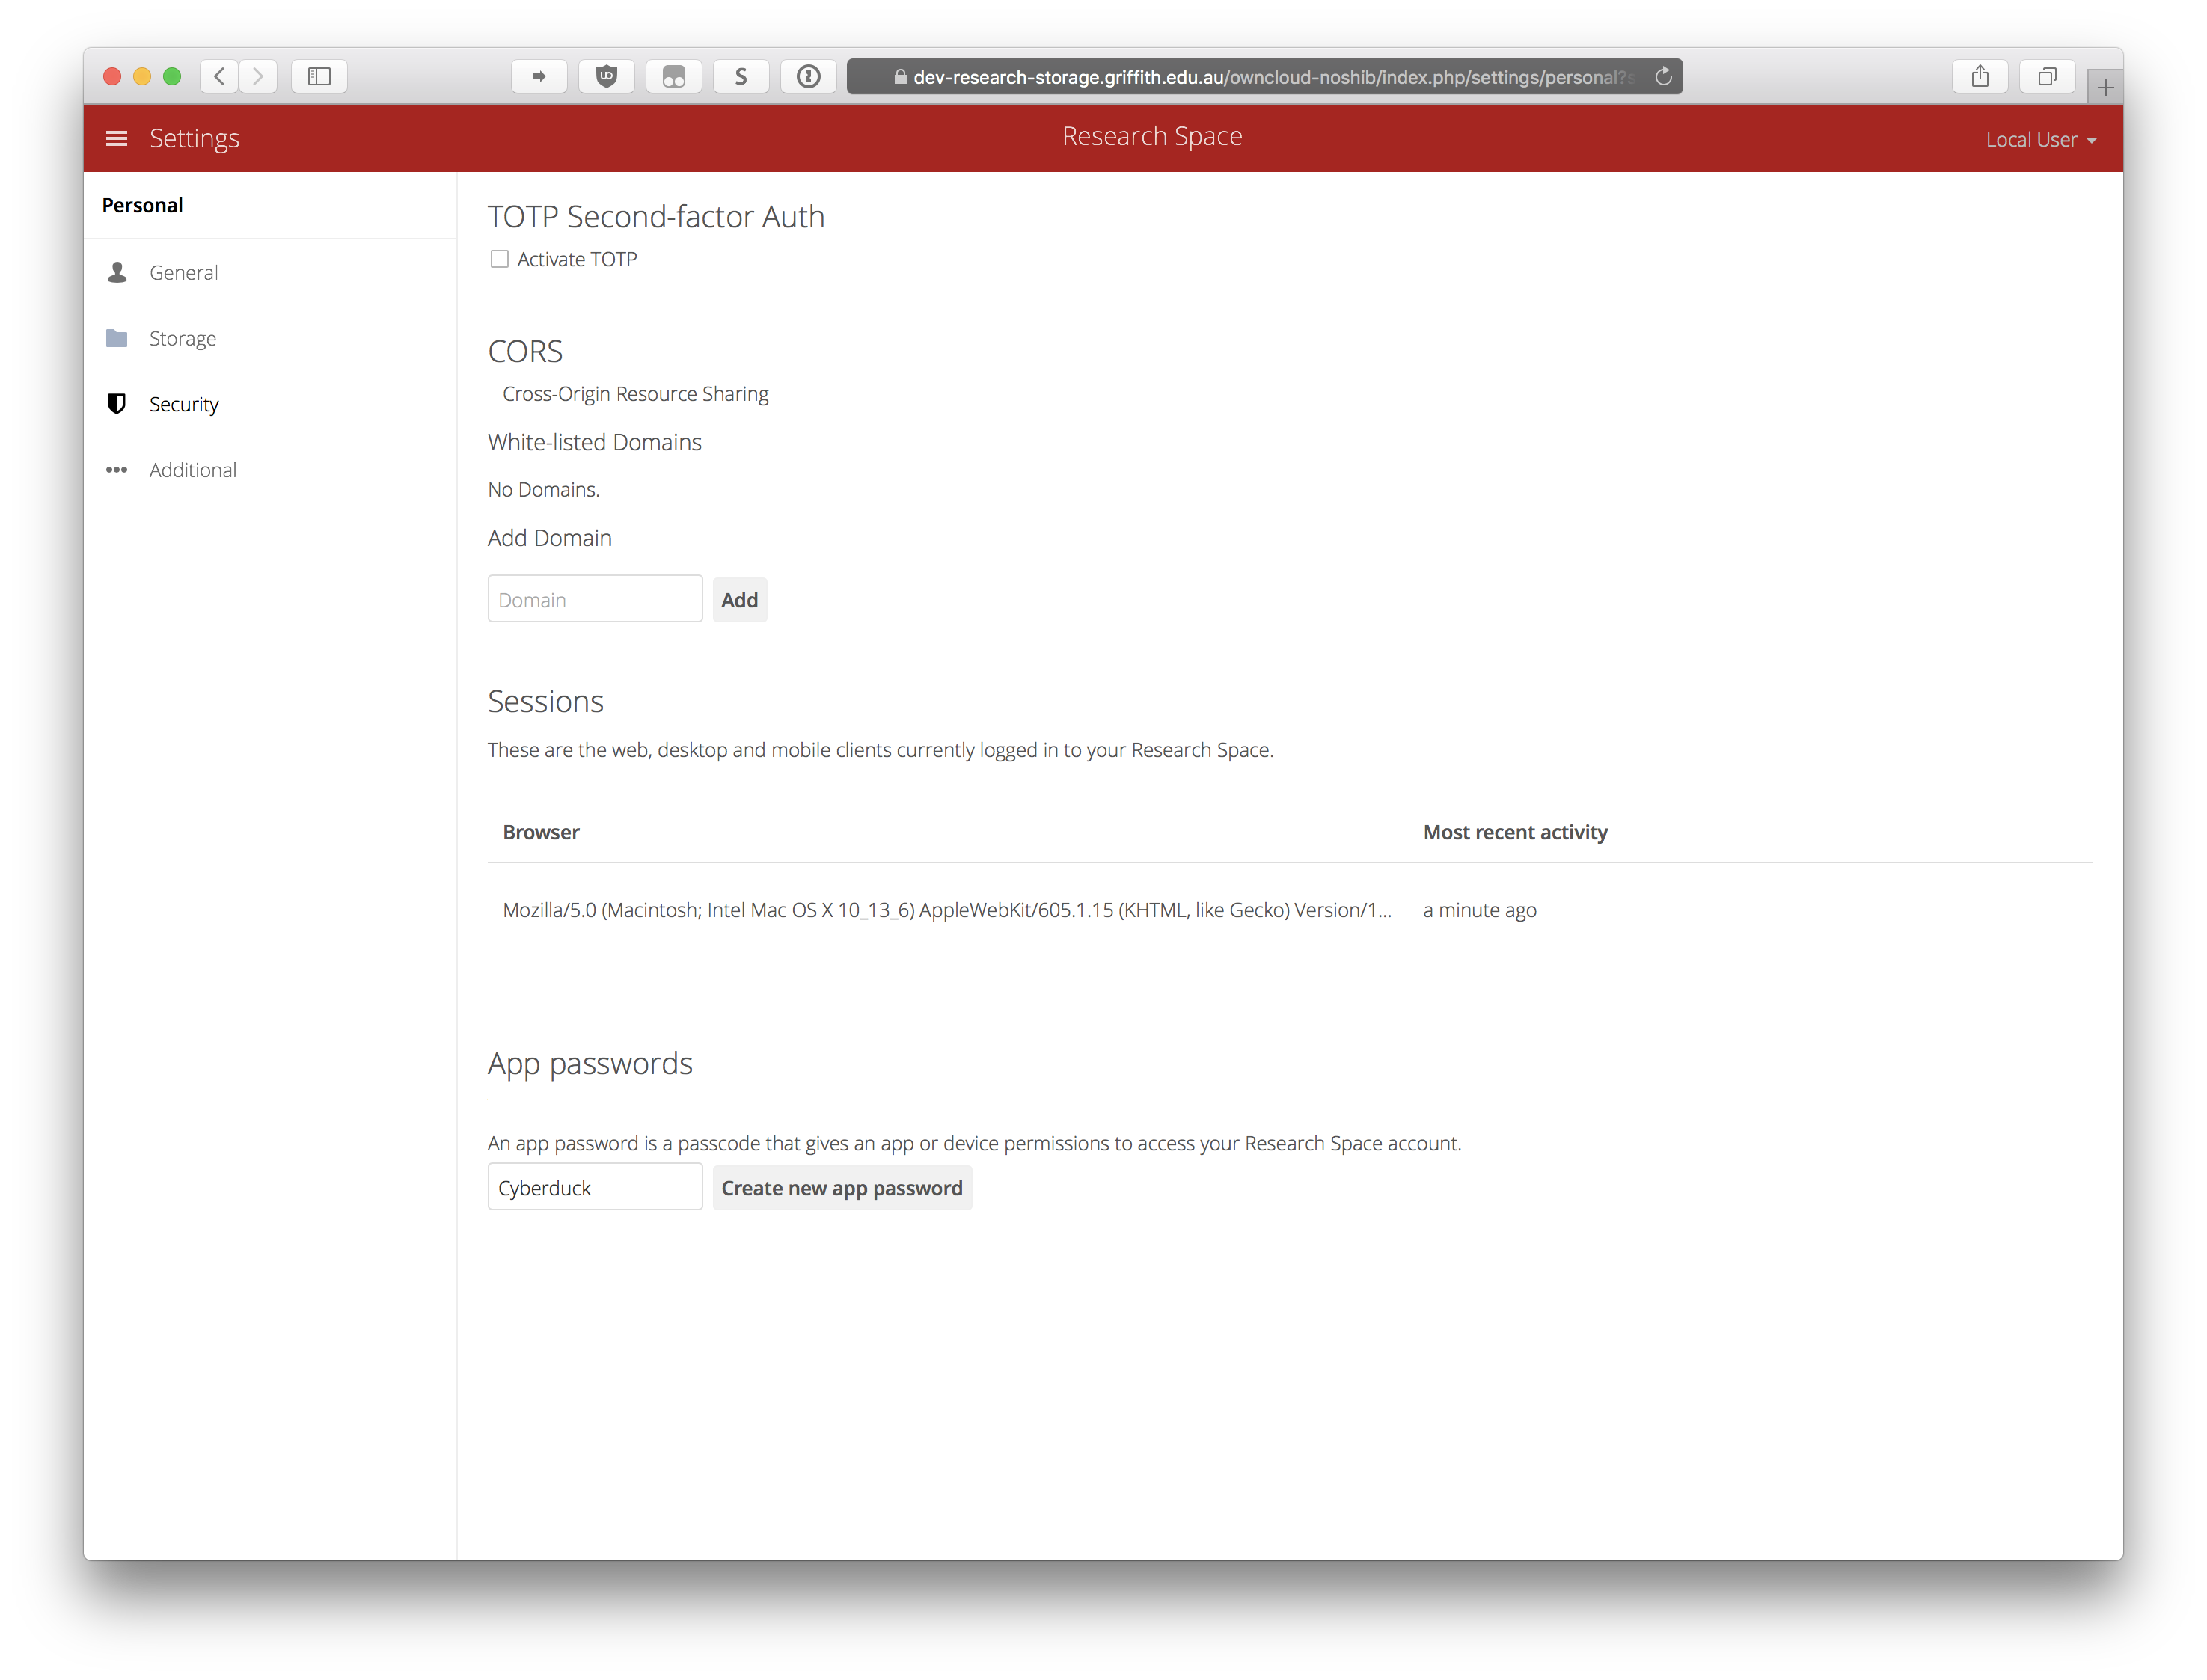
- In the App Passwords section, enter an App identifier, like "home Cyberduck" or "laptop DAV client".
- Copy and paste the server address from this page and username/password you just obtained to mount WebDAV.
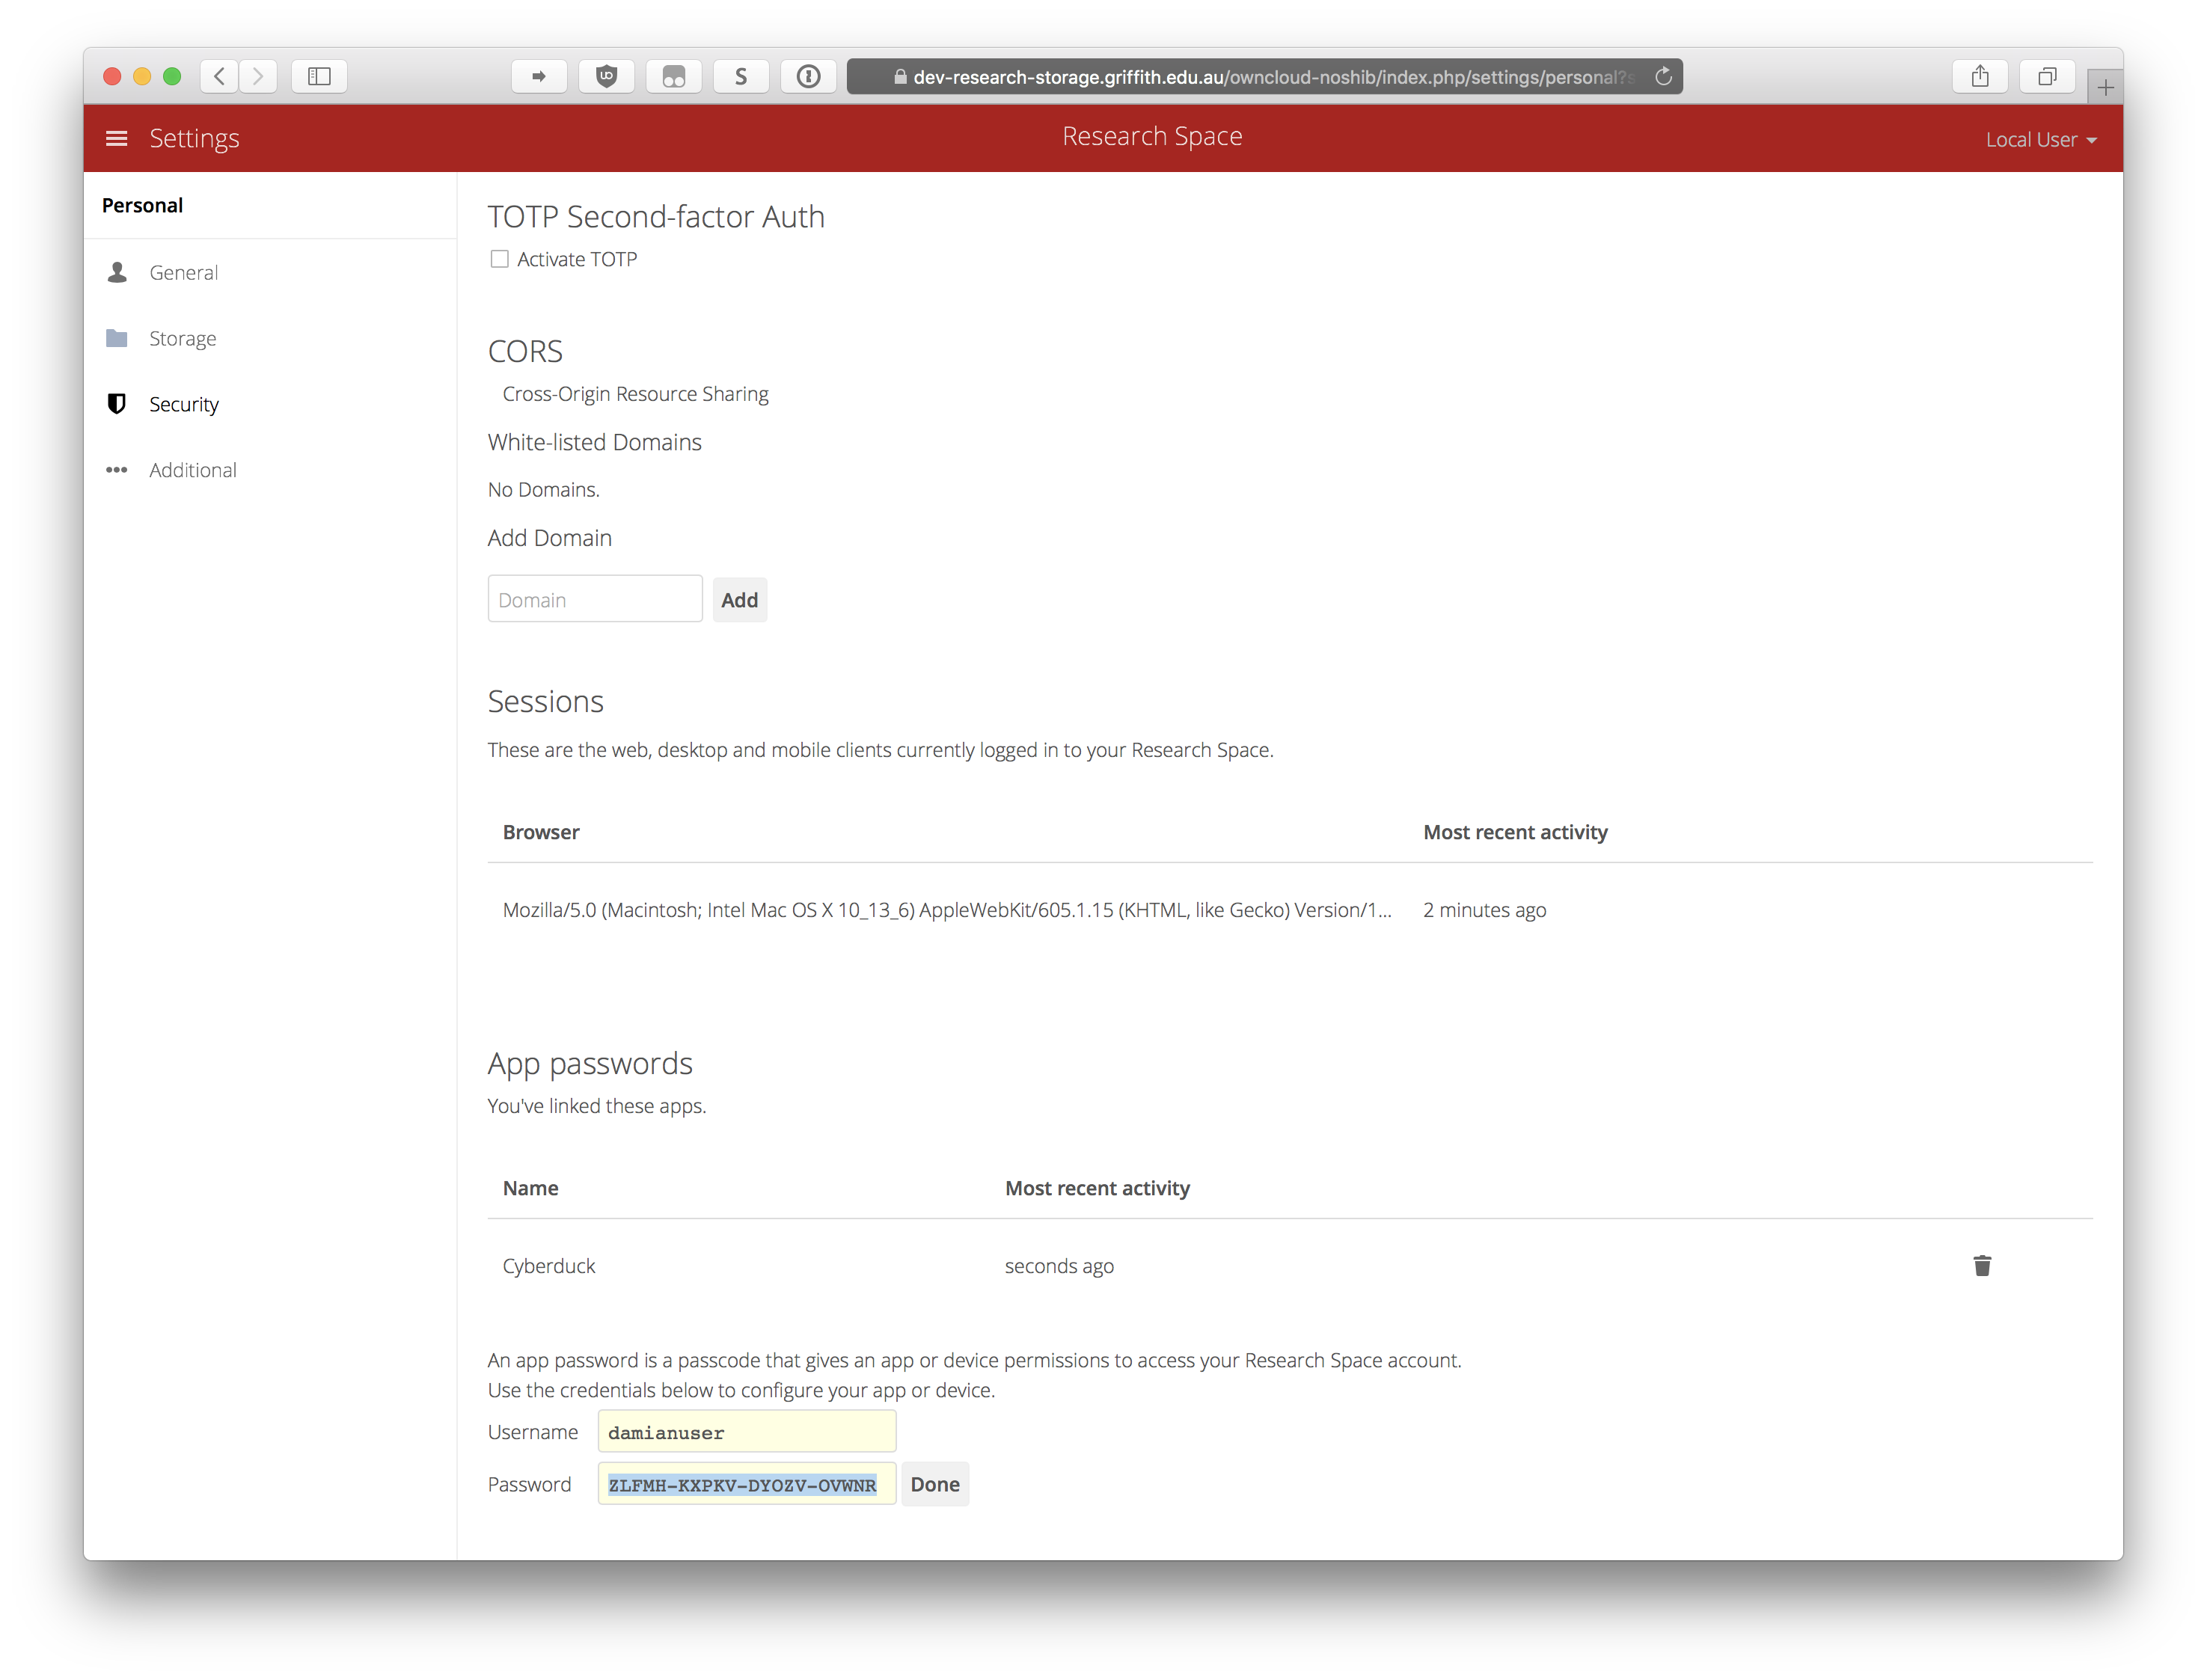
- Server Address: https://research-storage.griffith.edu.au/owncloud/remote.php/nonshib-webdav/
- Username: Your username as shown on the page. You can copy and paste this directly into your WebDAV client.
- Password: The password as shown on the page. You can copy and paste this directly into your WebDAV client.
Acknowledgements
Some content in this user manual has been adapted with permission from the University of Nevada, Reno.